Return to Stafford Air & Space Museum
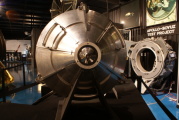
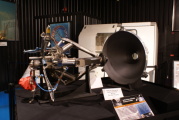
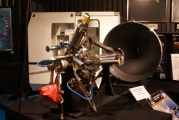
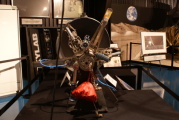
Apollo Probe & Drogue System
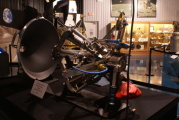
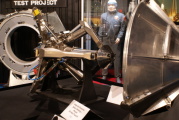
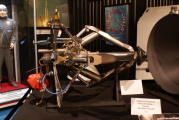
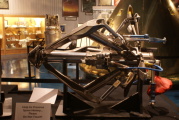
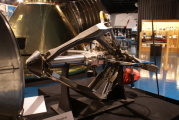
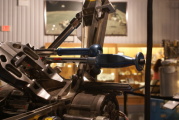
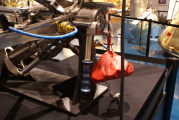
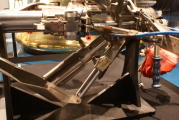
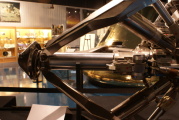
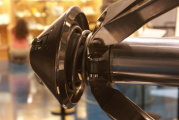
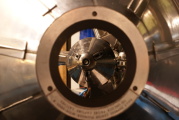
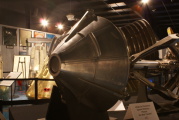
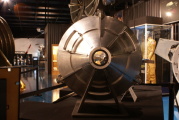
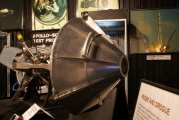
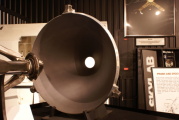
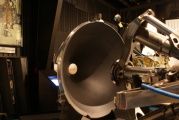
The docking between the Apollo command and lunar modules employed the use of a "probe and drogue" system. The probe was mounted in the docking tunnel of the command module, while the conical drogue was mounted in the docking tunnel of the lunar module.
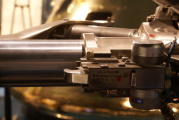
The CM would extend its probe and approach the lunar module. The cone of the drogue would guide the command module until it was properly centered, and the capture latches on the tip of the probe would engage, effecting "capture." The probe would then be retracted until the docking tunnels of the two spacecraft met, and the 12 docking latches on the command module would engage the LM's docking tunnel, effecting a "hard dock."
Once hard dock was achieved, the probe was collapsed, removed from the docking tunnel, and stowed. This allowed access to the LM's drogue, which was similarly removed and stowed, allowing access to the LM's pressure hatch.
Additional information about the probe, drogue, and the overall docking system can be found starting in the Apollo Experience Report: The Docking System.
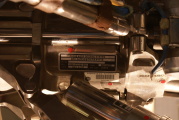
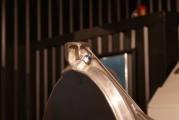
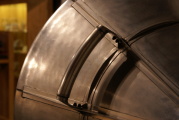
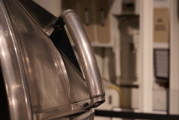
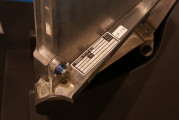
Although the museum's display is less complete than the one at the Cosmosphere or U.S. Space & Rocket Center, it does allow detailed inspection of the end of the docking probe and the drogue which would ordinarily be against the CM or LM's pressure hatches.
Return to Stafford Air & Space Museum
