flowmeter-1.jpg
Overall view of the flowmeter.
Picture 2 of 4.
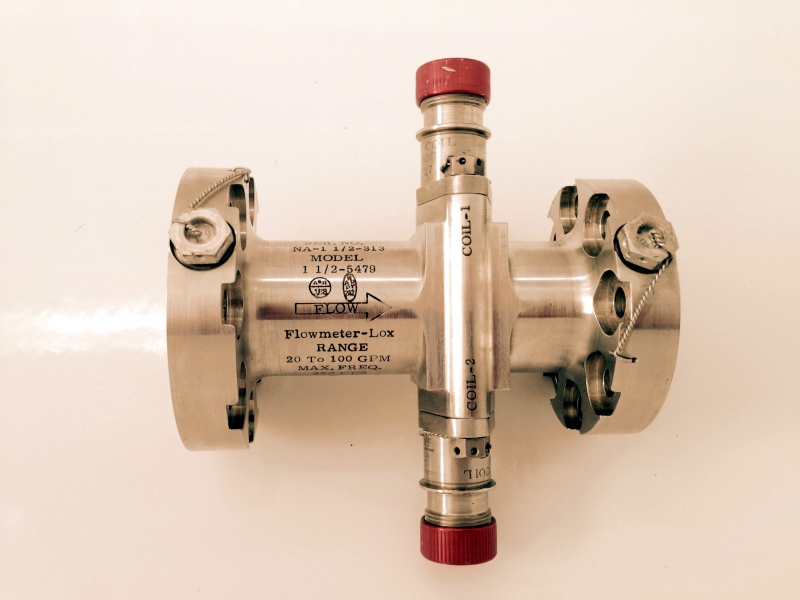
| Photo Credit | Mark Yates |
| Full-size Image | Click here for a 3264x2448 pixel version of this diagram in a new window. |

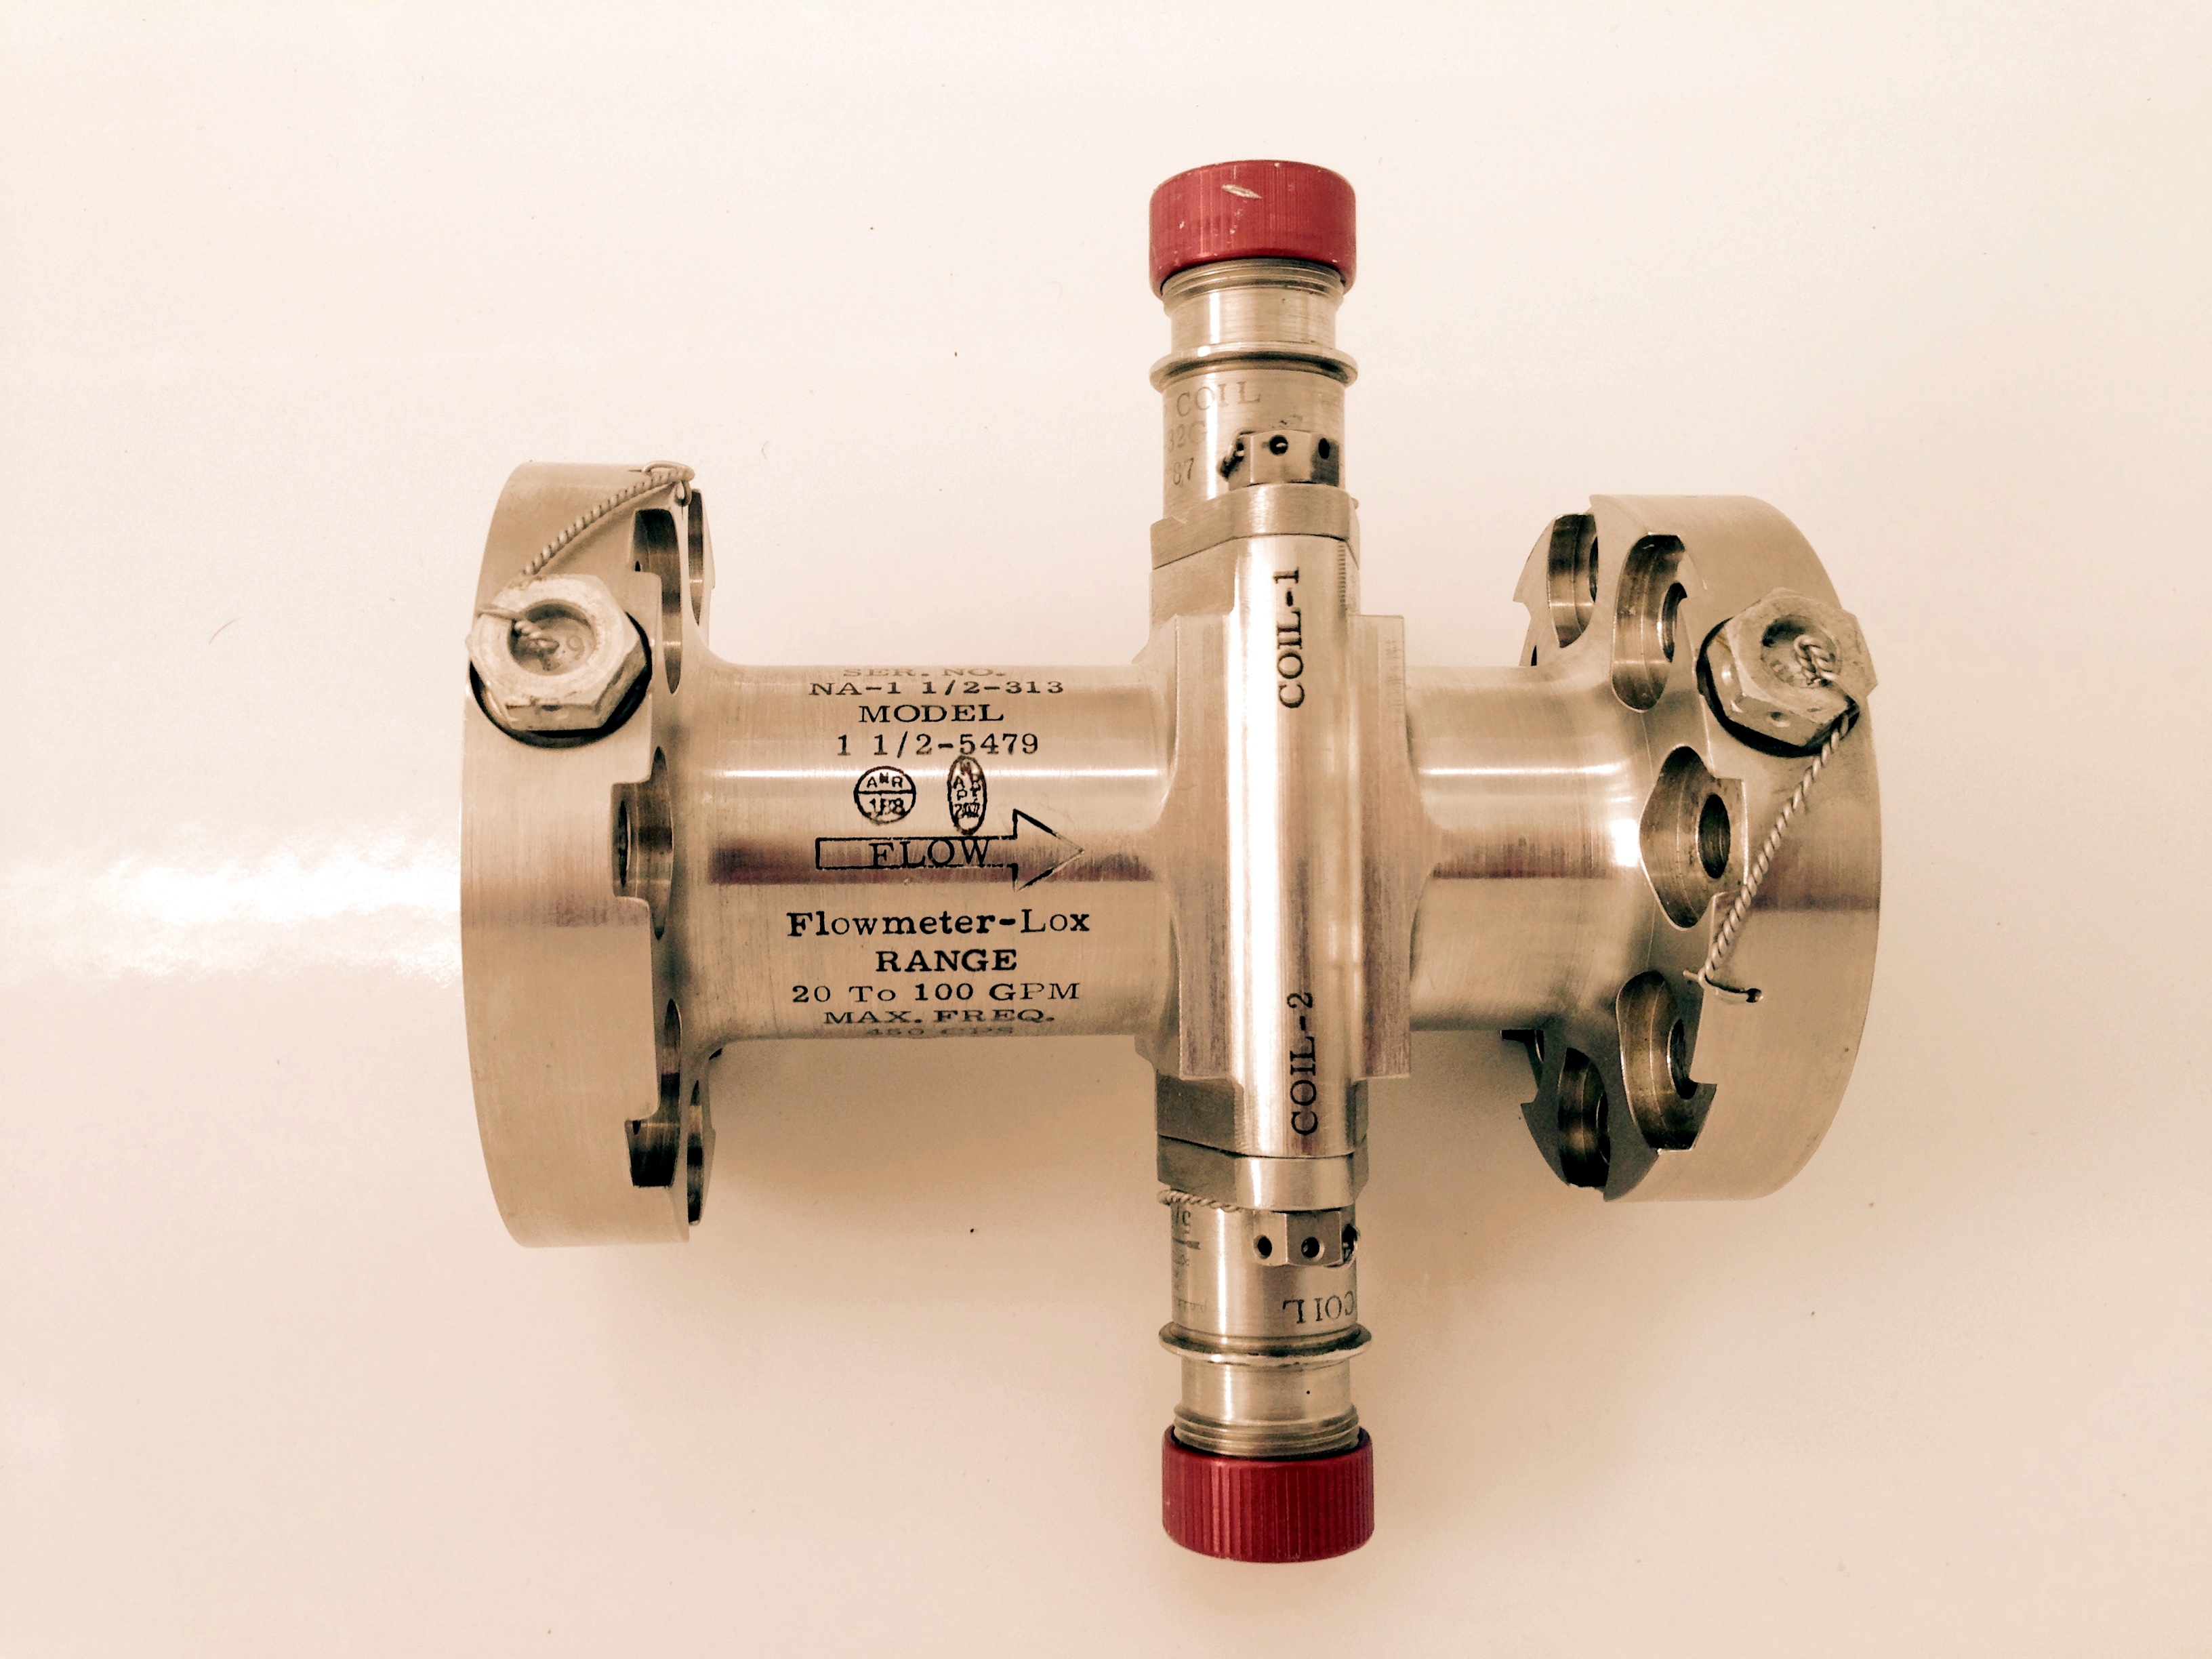
Overall view of the flowmeter.
Picture 2 of 4.
| Photo Credit | Mark Yates |
| Full-size Image | Click here for a 3264x2448 pixel version of this diagram in a new window. |